In our effort to help anyone build and send effective email campaigns, we have taken our suite of Simple Email Marketing Tools to a whole new level. And today, we’re happy to introduce our biggest update yet to the SocketLabs Email Designer.
Here are just a few of the improvements that we made:
- With a clean and sleek design, creating an engaging email is truly a joy for both non-designers and designers alike.
- Sections and Elements act as the building blocks to your email, allowing you to create any style email that you can imagine.
- Now you have more control over how your email looks, with the all-new Properties Panel. Create round buttons, adjust colors, and so much more.
- The Designer is now a more intuitive experience, making the process of creating your next email a breeze.
- Let’s explore some of the improvements in more depth, so you can see just how easy it is to build your next email.
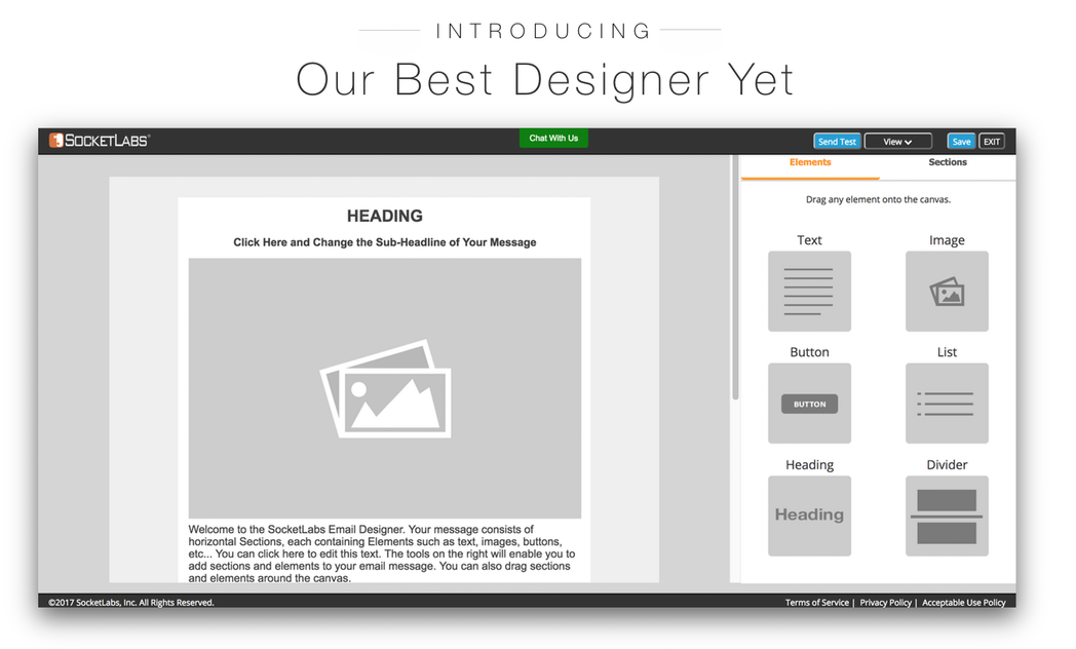
The Email Designer has a completely new look.
We overhauled the Email Designer giving it a sleeker UI, modern design, and a more intuitive experience to make it truly a joy to work with.
To start, we replaced the dark colors on the canvas with lighter colors that are easier on your eyes, so you can focus on what counts most – designing great content.
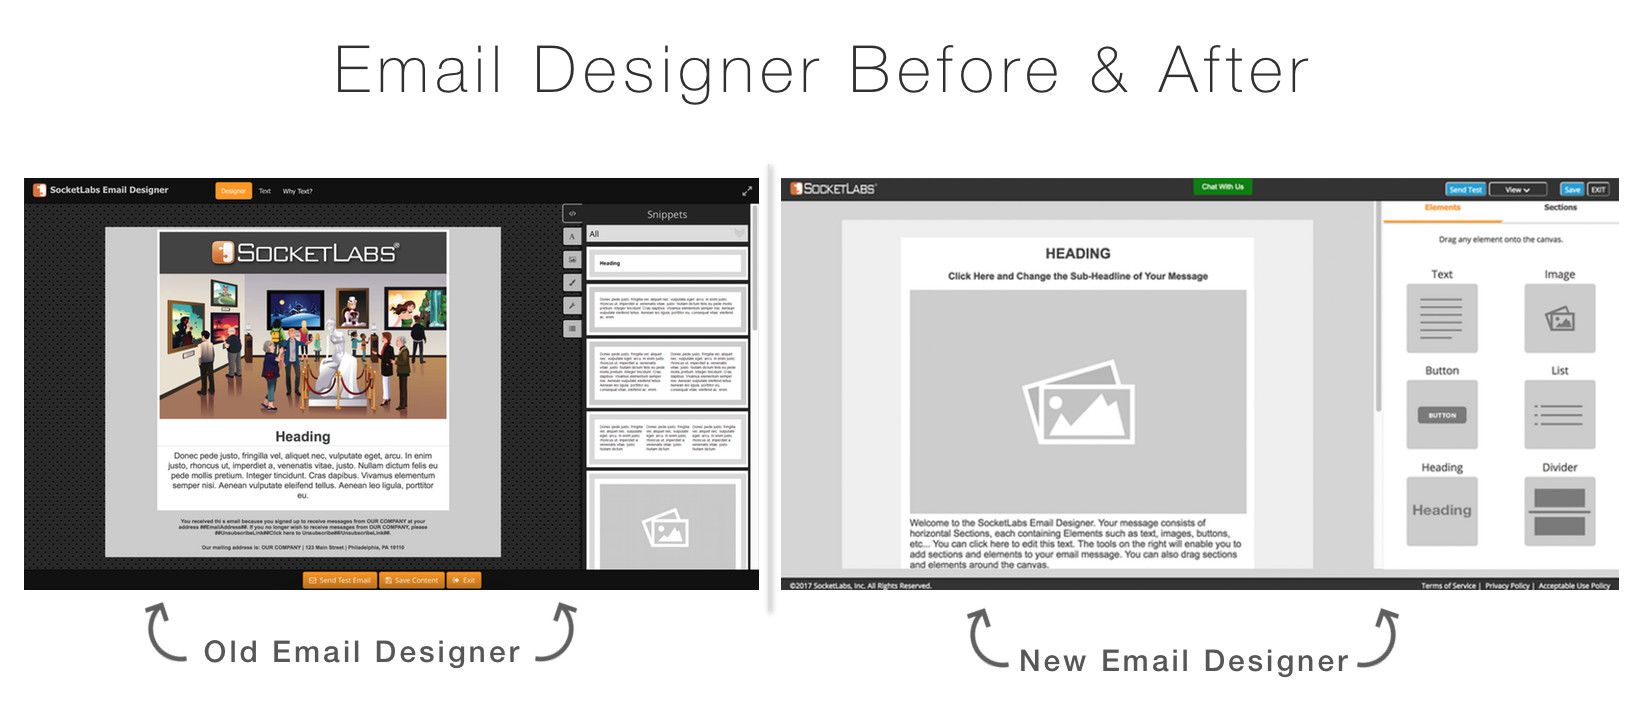
Next, your key control buttons such as Send a Test, View, Save, and Exit are now all located in one place, in the upper right hand corner of the screen.
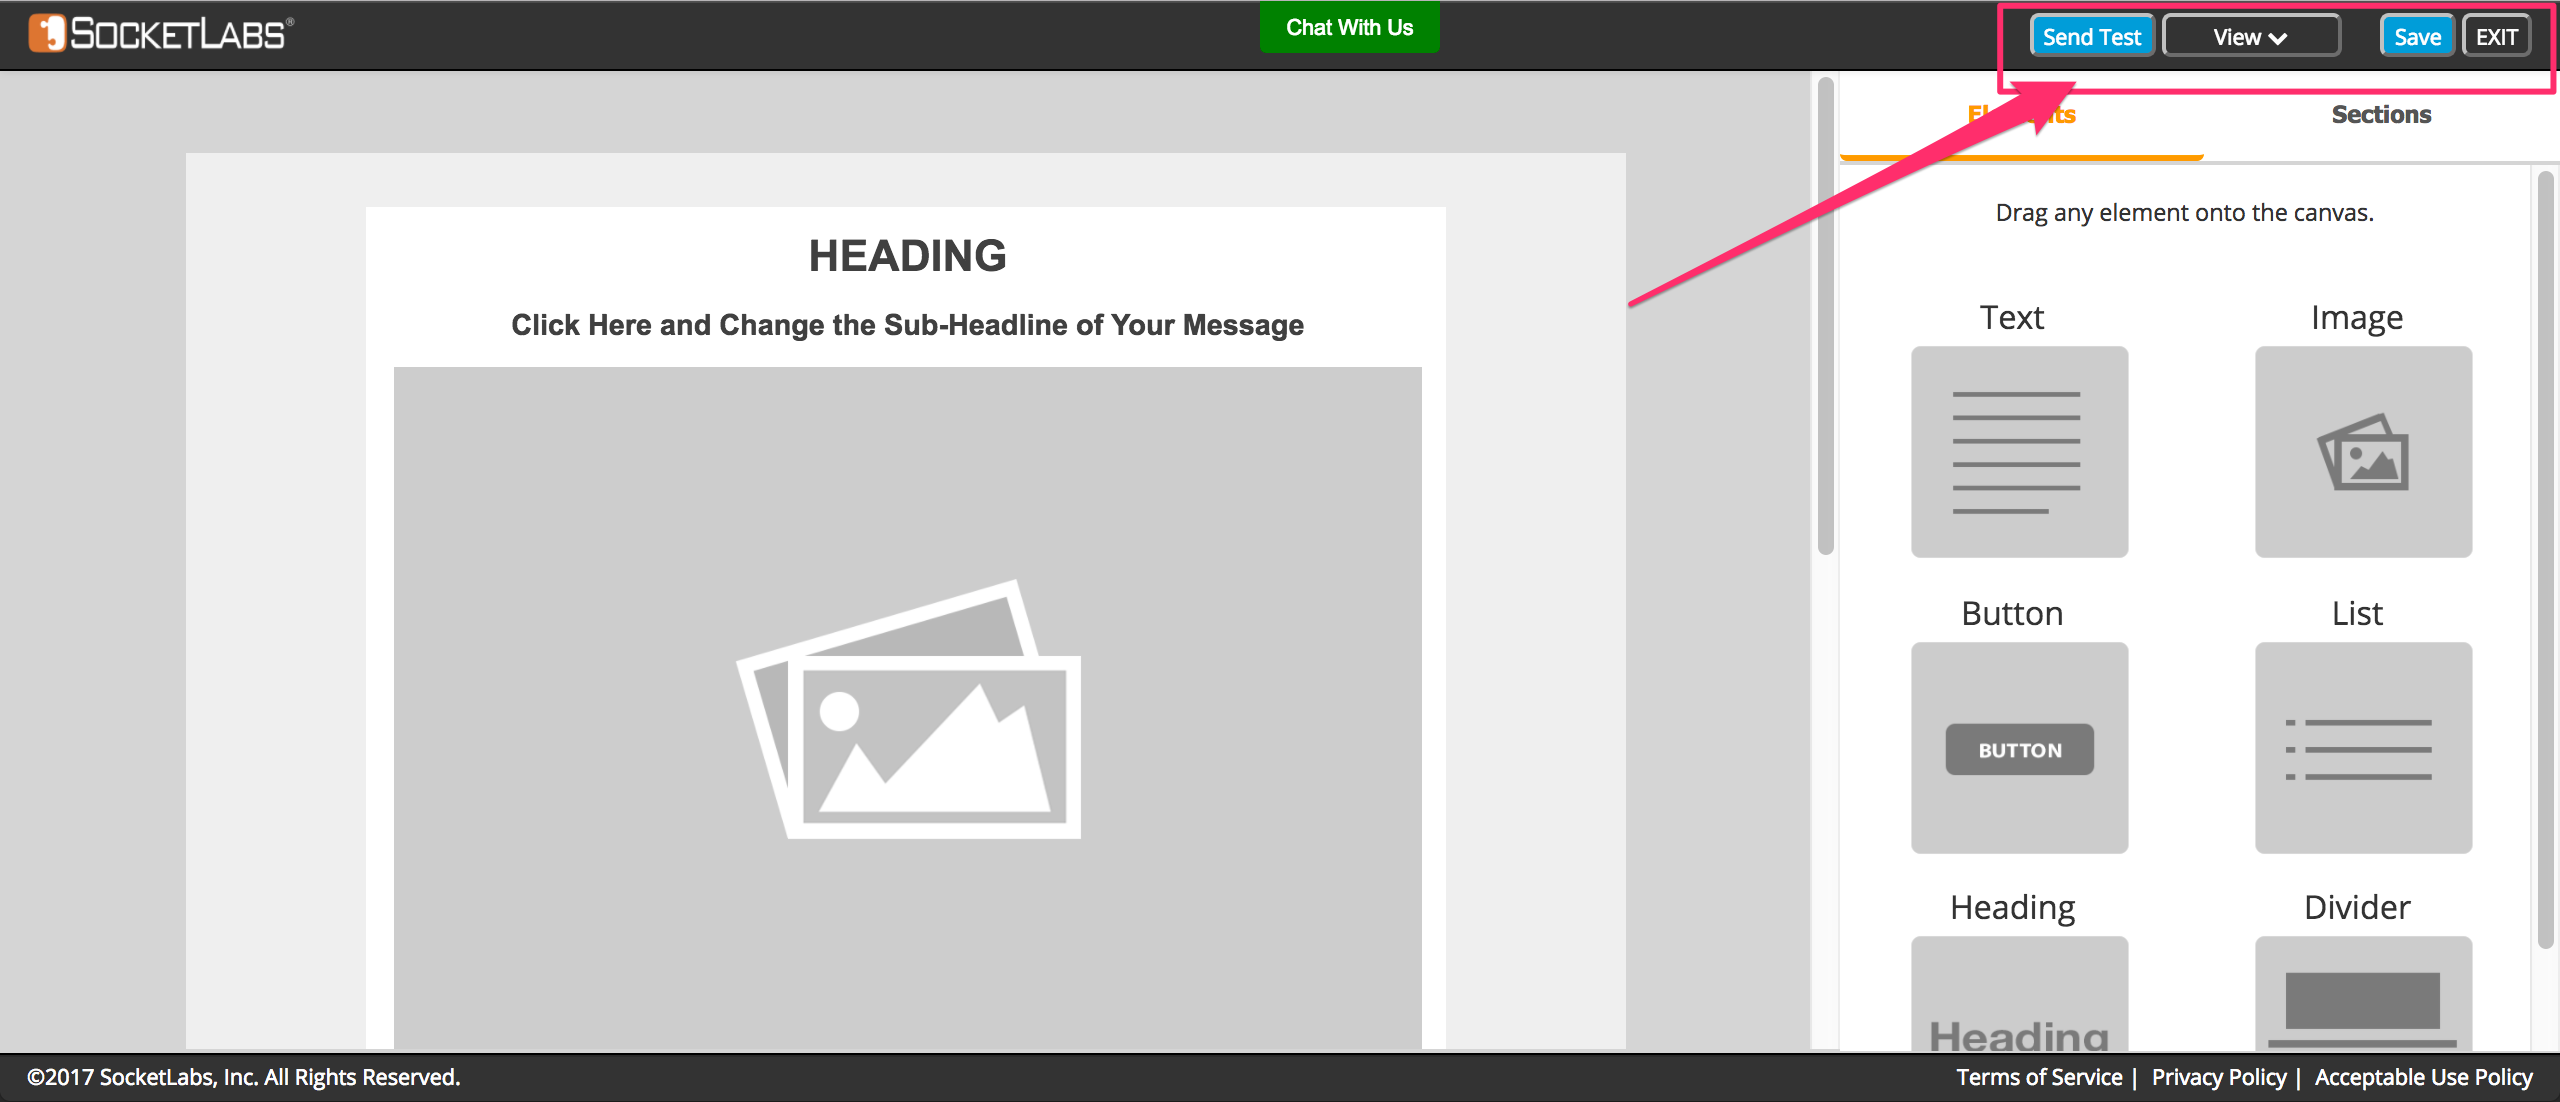
We took the guesswork out of finding design and layout tools by consolidating the original tab layout into a simple interface so you can access the tools you need, faster.
And in addition to a whole new look, also comes some big changes to how you’ll build your email…
It’s so much easier to build your next email. And so much less work too.
We redefined how emails are built within our platform using Sections and Elements, a remarkably simple concept that makes creating stunning emails effortless.
Think of Sections and Elements as the building blocks to your email. They can be used to build anything from a simple single column email such as a new product announcement, to a more complex e-commerce email with multiple rows and columns displaying product images.
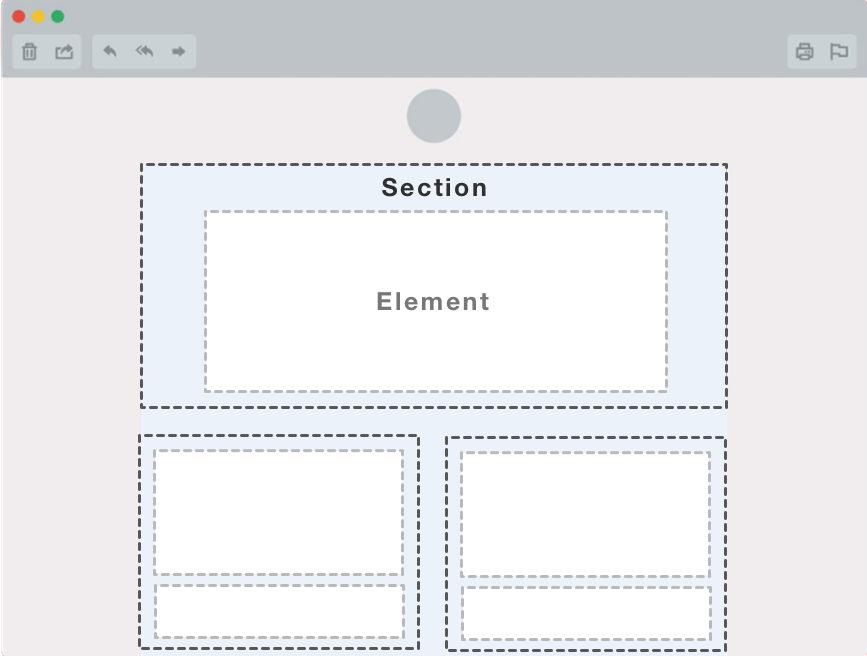
In the image above, Sections are the light blue boxes that make up the layout of the email. The Elements are the white boxes that are positioned inside of the Sections.
Sections make designing your email layout fast and easy.
Building your first email is as simple as selecting the Sections that you want to use, then dragging them onto the canvas of the Designer.
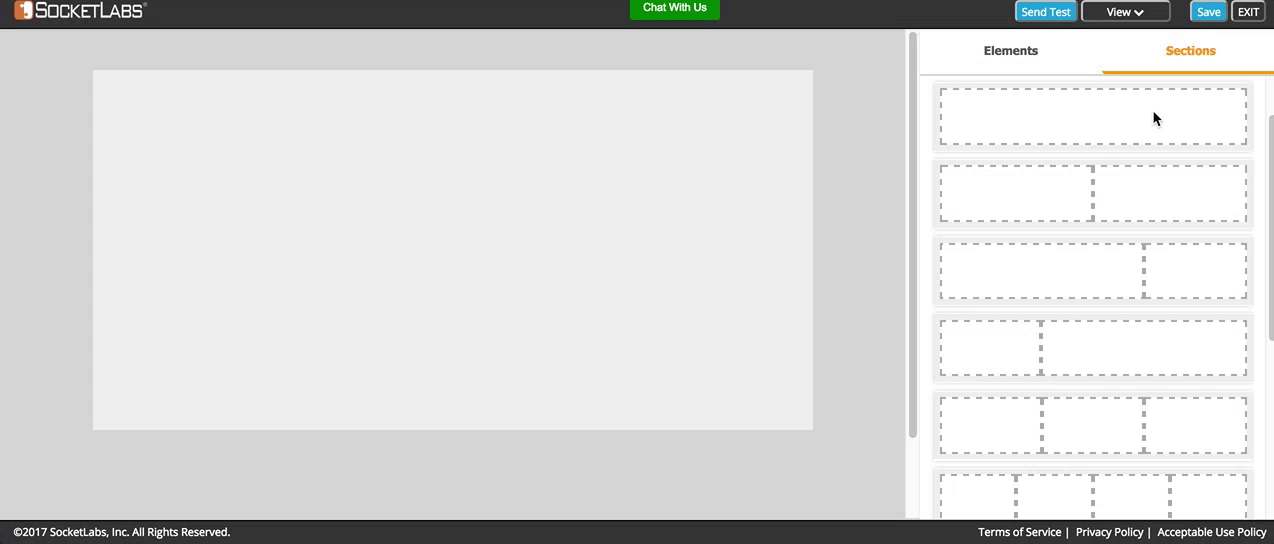
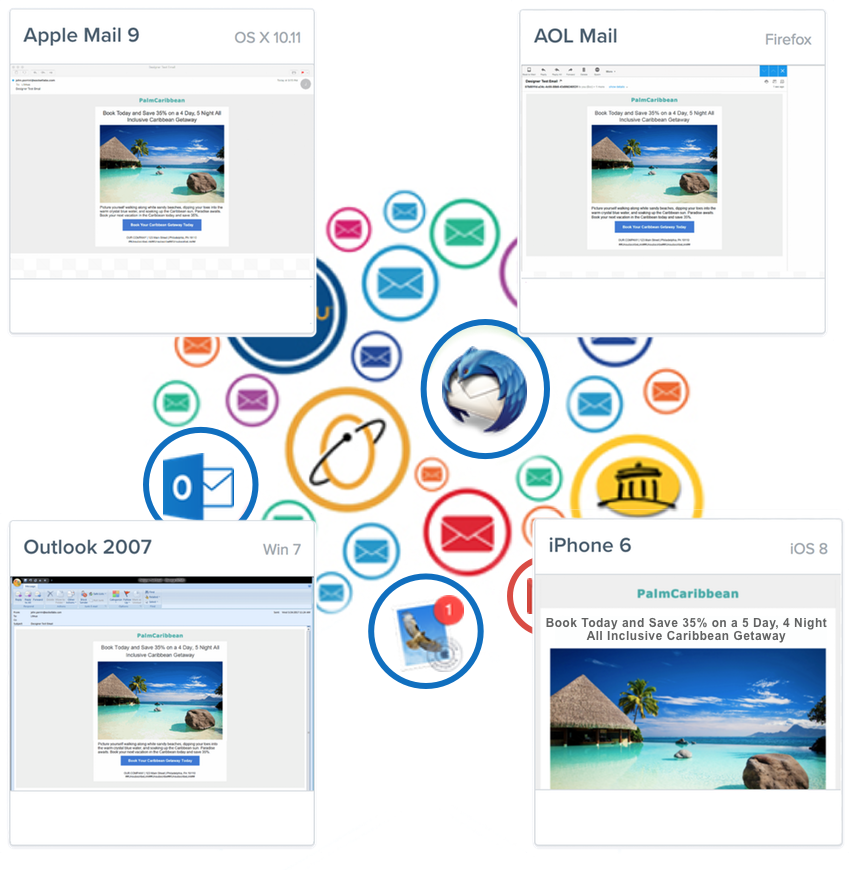
Sections are flexible enough so you can design almost any style email that you can imagine, but structured enough so your email is always compatible across modern (and even not so modern) email clients.
Speaking of design compatibility, every new version of the Email Designer is tested against 70+ different email clients & devices, so you can design one email that works everywhere.
In addition to making it easy to build an email that works across most major email clients, we also improved the experience of adding content, by cutting out Snippets and replacing them with Elements.
Thanks to Elements, it’s easier than ever to add content and style your email.
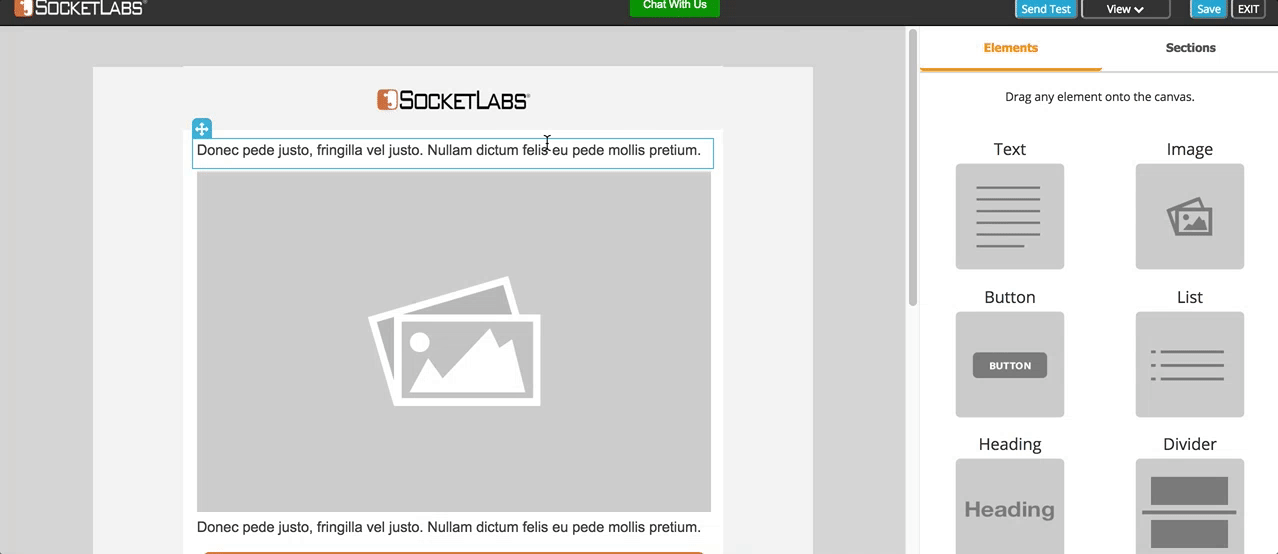
While Sections control the layout of the email, Elements can be thought of as the content building blocks to your email. Elements include images, text, buttons, and dividers.
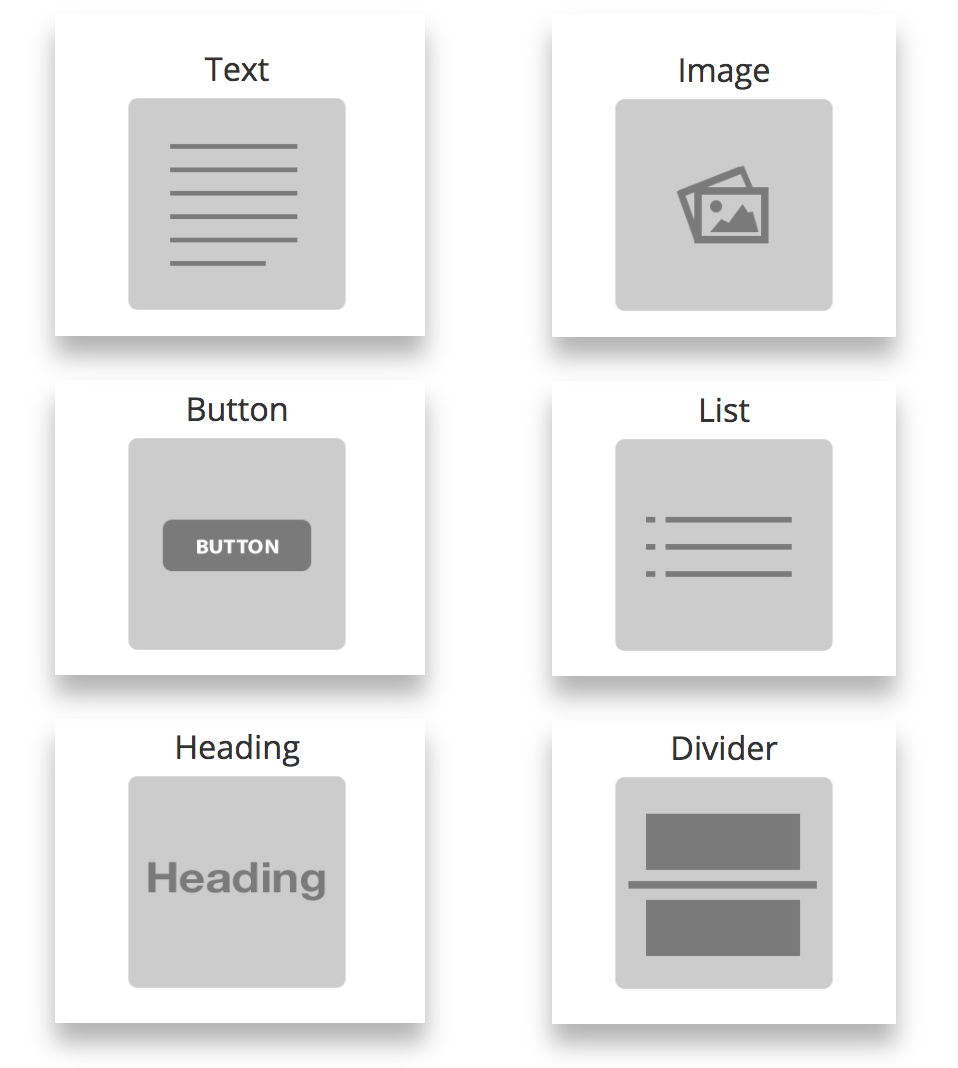
To add an Element, simply head over to your Elements Panel and drag the Element of your choice into a desired Section of the canvas.
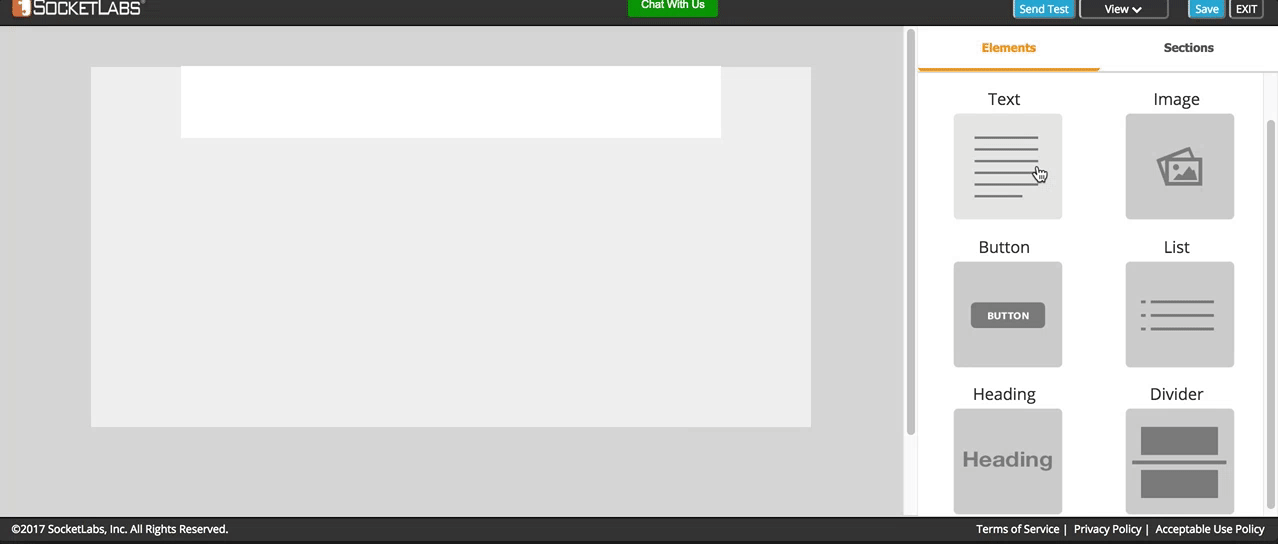
In the example above, we are building the basic layout of a feature announcement email.
With Elements added to your canvas, you may find yourself wanting to make some design enhancements, so your email truly stands out in the inbox. Simply click on the Element to open the Properties Panel.
Now all of your Element Properties are located in one place, the all-new Properties Panel.
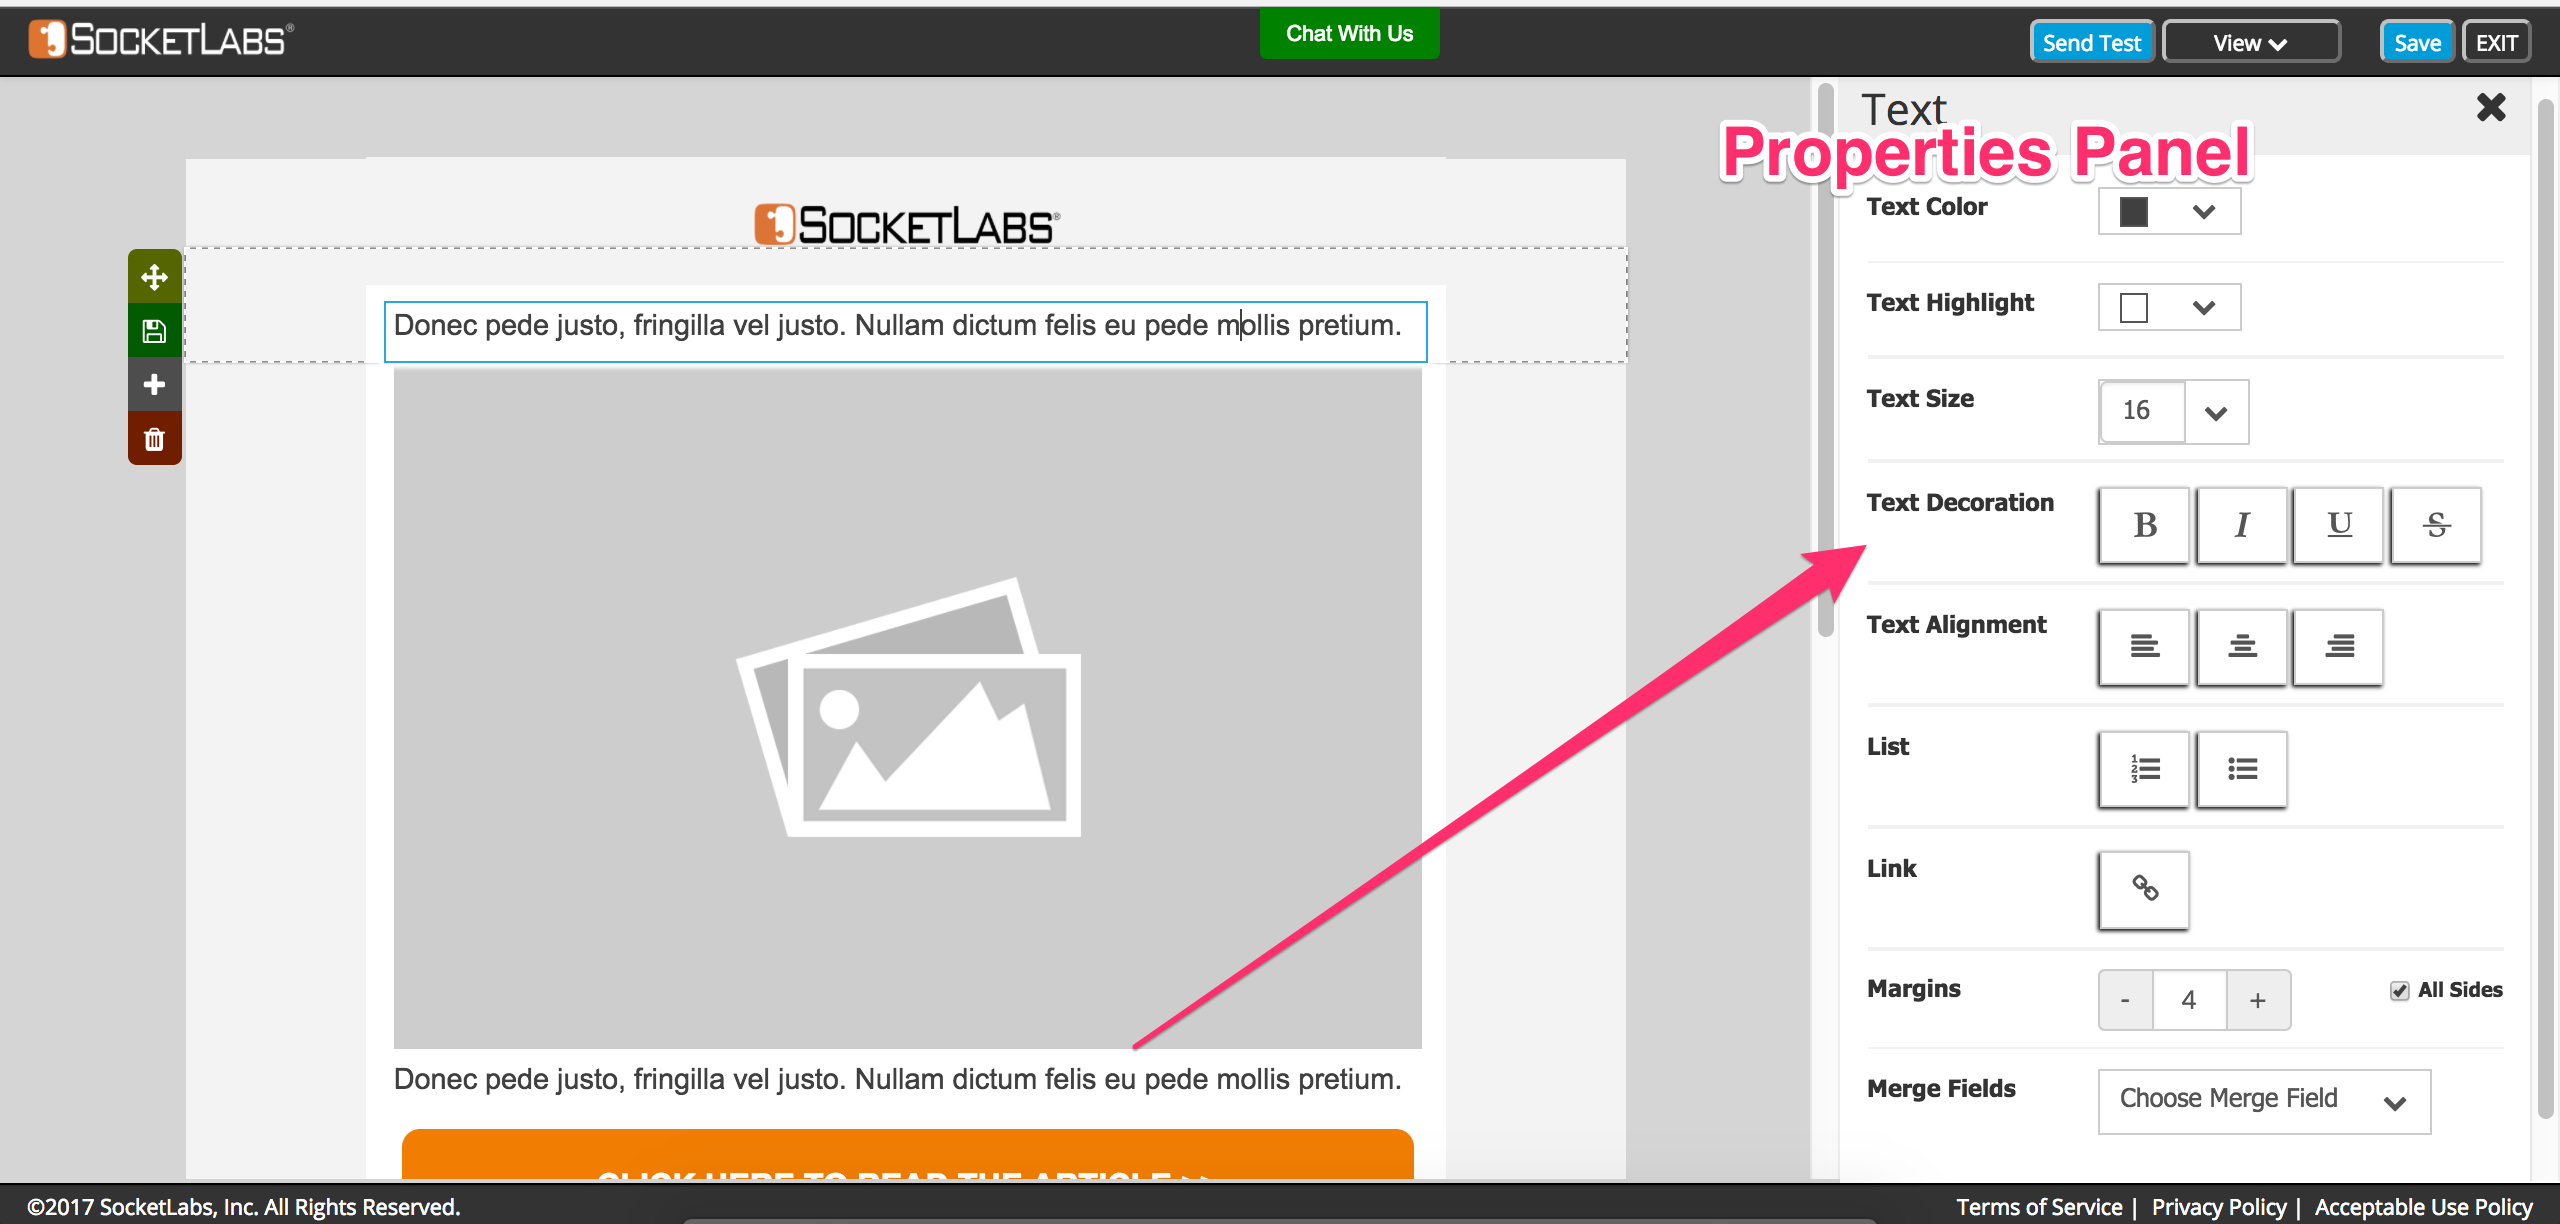
Every Element in the Email Designer has a Property. Properties include text color, text size, alignment, margins, and so much more.
So what has changed?
Before this latest enhancement, your Element Properties were scattered between different tabs. But now with the all-new Properties Panel, all of your Properties are in one place. This makes it so much easier to fine tune the design of your email, so you can craft more engaging emails for your audience.
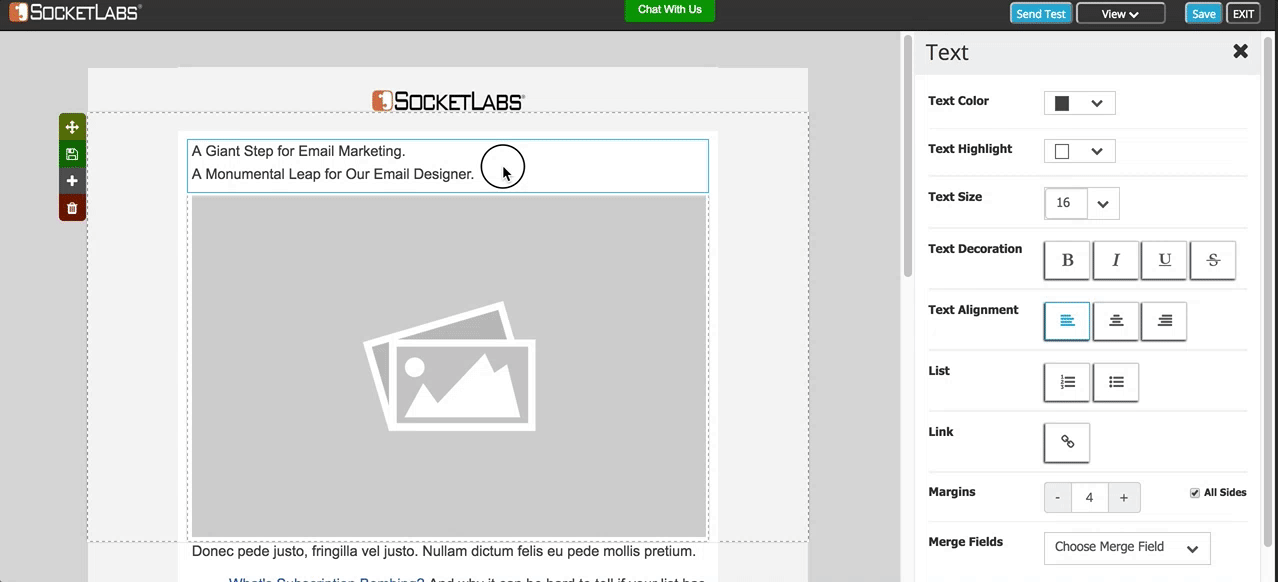
In the animated image below, we’re enhancing the design of our feature announcement email by editing Element Properties.
Here are just a few of the things that you can do with Properties:
- Create headlines, sub headlines, and paragraph text.
- Adjust text color to make certain words stand out in your email.
- Bold, underline, and strikethrough text where you want to add some extra emphasis.
- Turn text into numbered or bulleted lists for better readability.
- Insert merge fields into text for a more personalized email.
- Adjust Element margins to get the email to look just the way you want it.
- And so much more!
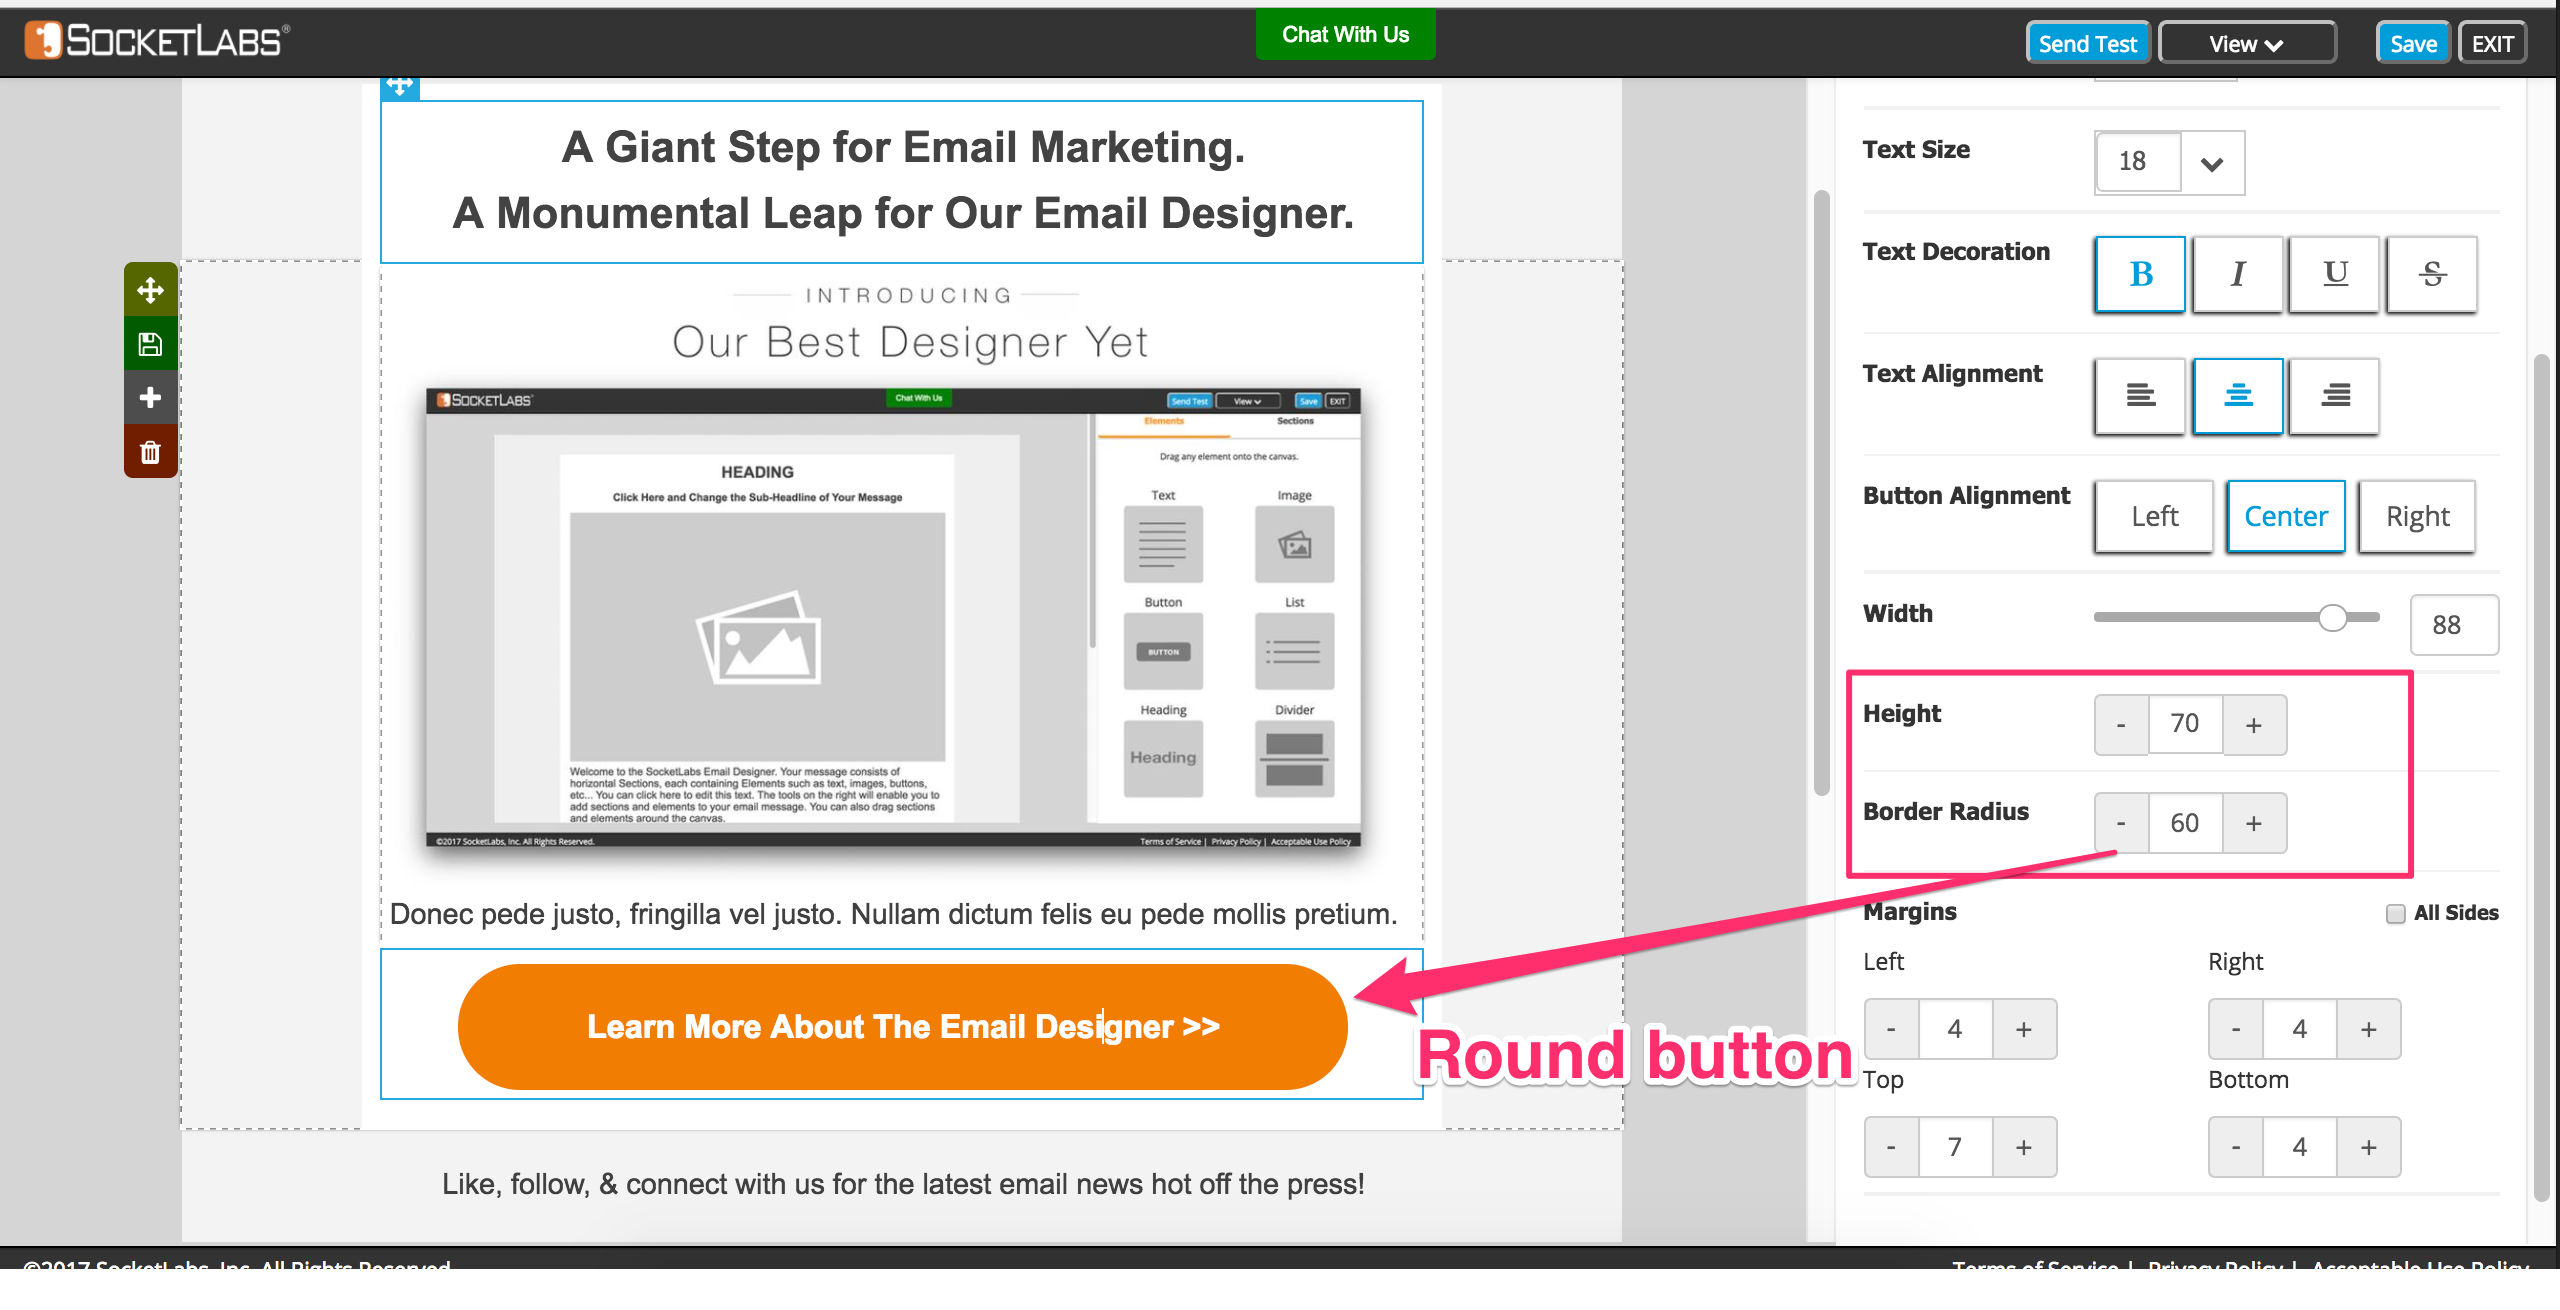
And with the new Properties Panel, we also upgraded some of your design capabilities, such as creating round buttons.
Round buttons are here!
Now you can create buttons with round edges using the Border Radius Property in the Button Element.
By now, we’ve covered most of the major updates to the Email Designer. But there were many other great enhancements that you have to experience for yourself…
Here’s what else you need to know:
- You now have better control over the margins and padding for both your Sections & Elements, so you can design great looking emails.
- Your Designer comes preloaded with Sample Sections for when you need some design inspiration.
- We completely rebuilt the Email Designer in Angular.js.
- Better URL handling, making it easier to add and remove links in your email.
- We have added new controls to ensure that you don’t get logged out of the Designer while you’re in the middle of designing an email.
- Live Chat has been built into the Designer so you can speak to our friendly live support staff if you run into any issues.
- And so much more!
Ready to try our best Email Designer yet?
Here’s how to access the Email Designer:
If you already have a SocketLabs account, then you can access the Email Designer at no additional charge. Just login to your account and click on the Email Marketing tab in your Server Control Panel.
If you’re not a SocketLabs customer, then you’ll need an account to use the Designer. You can create a free account here >>
Or, learn more about our Suite of Simple Email Marketing Tools here >>