
For this tutorial, we will assume that you have an IDE installed and set up. We will be using Visual Studio Code as our IDE. Have Composer installed in your system as well. Additionally, confirm that you are using a supported version of PHP (5.6 or higher).
Step 1: Create a Folder
To start, create and name a project folder for the tutorial project. Inside the new folder, create the PHP file where you will be writing your code. For this tutorial, we have created a file named index.php.
Step 2: Install SocketLabs Email Delivery
From your working environment, navigate to your new directory. Install the SocketLabs Email Delivery package via Composer by typing the following into the terminal of your directory:
composer require socketlabs/email-delivery
Step 3: Obtain Injection API Key to Access Our Send Email API
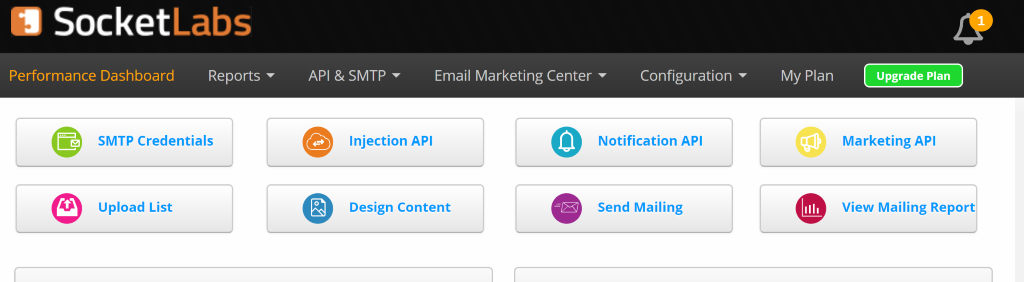
Now it’s time to obtain your Injection API key. If you already have a SocketLabs account, you will need to sign in first. After signing in to your SocketLabs account, select the “Injection API” option from the “API & SMTP” dropdown in the top navigation bar. Alternately, you may click the “Injection API” shortcut button right beneath the navigation bar.
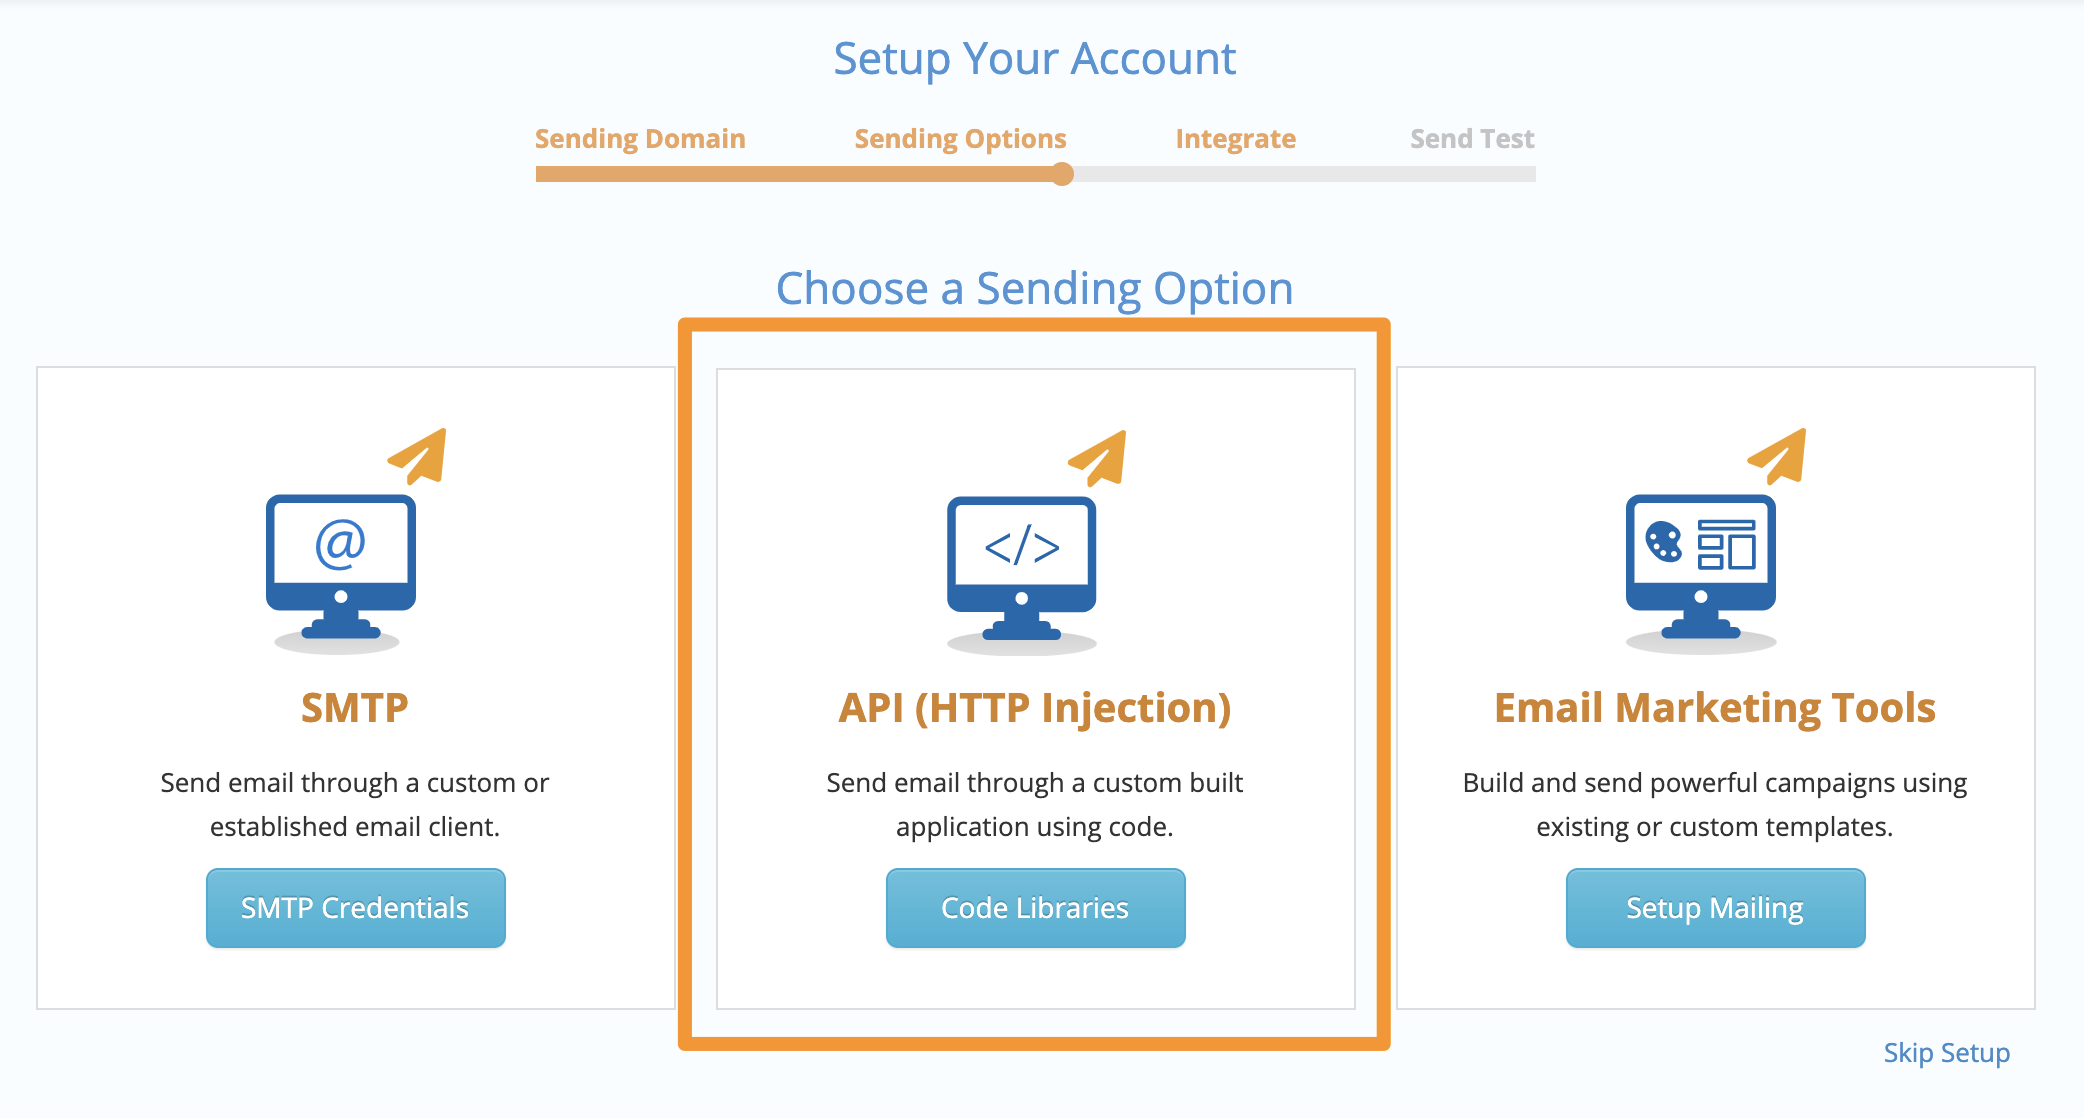
If it is your first time logging in to your SocketLabs account then you will need to set up a sending domain first. After this is set up, choose “API (HTTP Injection)” as your sending option.
On the next page, there should be a ‘Use our Injection Api’ button, click on it to access the code library options.
Step 4: Add the Code
Select php as your library from the Injection API choices. Copy the code provided and paste it into index.php. Make sure to update the To address and From address for your message! You can also edit the code as desired in the textBody or the htmlBody. It should look like this:
<?php include_once ('./vendor/autoload.php'); use Socketlabs\SocketLabsClient; use Socketlabs\Message\BasicMessage; use Socketlabs\Message\EmailAddress; $serverId = YOUR-SERVER-ID; $injectionApiKey = "YOUR-API-KEY"; $client = new SocketLabsClient($serverId, $injectionApiKey); $message = new BasicMessage(); $message->subject = "Sending A Basic Message"; $message->htmlBody = "<html>This is the Html Body of my message.</html>"; $message->plainTextBody = "This is the Plain Text Body of my message."; $message->from = new EmailAddress("[email protected]"); $message->addToAddress("[email protected]"); $response = $client->send($message); echo json_encode($response);Note: When you copy the code from the SocketLabs Control Panel your serverId and injectionApiKey should be already set to their correct values. In case they haven’t, you can return to the Injection API page in the SocketLabs Control Panel to find your credentials.
Step 5: Now that you have the code and all the necessary credentials, it’s time to test your code! One way to do this is by typing the following command into your terminal (make sure you are still in the project directory):
Then navigate to http://localhost:8000 in your web browser to run your code. If everything worked correctly you should see a success message in your browser, otherwise you should see the error reason returned from the Injection API.
Whats Next?
Once you’ve set up your PHP application to send email using the SocketLabs Email Delivery PHP Client Library, there are some additional steps that you may wish to take to further optimize the deliverability of your email. These include setting up the authentication and white-labeling features that are available for your SocketLabs account, such as Custom DKIM signing, Custom Bounce Domain, and Engagement Tracking.